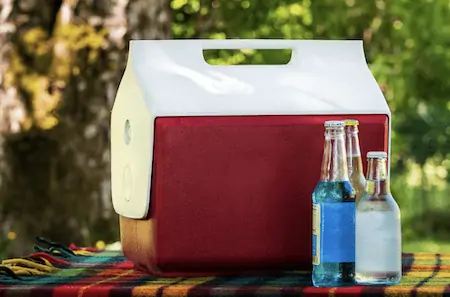
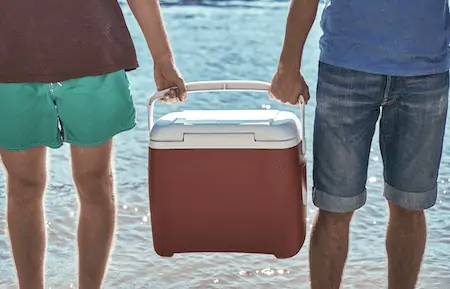
Ice chests and coolers can get super gross following a heavy use in picnics, camping, tailgating, or cookouts. They can become grimy and stinky, and worst of all, turn into a sweet home to mold and mildew.
That’s why it’s a good idea to clean your cooler thoroughly between uses, as well as to take some additional precautions to ensure mildew does not grow there.
But since you usually use it on the go or while doing fun things, it’s easy to delay cleaning up the mess or forget to empty it, which only makes things worse.
Let’s look at how to clean your ice coolers & chests efficiently with easy-to-access items, so you can enjoy the freshness wherever you go.
4 Steps of Cleaning Ice Chests and Coolers
The process of cleaning ice chests and coolers isn’t that difficult, you just need to follow the below steps correctly.
#1. Get All the Debris Out of the Way before Cleaning
When rotten food or stagnant water has sat in your cooler for several days or longer, you must take this step before anything.
Step outside with the chest and remove all the debris using your garden hose or a spray nozzle. There may be a film on the sides and the bottom, and you will need to remove it while doing this.
#2. Start with Warm Soapy Water
Cleaning your cooler or ice chest should begin with a basic cleanse. Start with creating a bubbly solution by mixing soap with warm water. Next, clean the cooler thoroughly with a sponge; don’t forget the corners.
Once you have rinsed out the cooler’s interior thoroughly, you should move on to cleaning the outside part of the cooler, the lid, and the bottom. Use the soapy solution to scrub the entire cooler thoroughly.
You should note that the drain plug can accumulate stubborn odors, so once you have cleaned the entire chest, take it out and scrub well with a toothbrush.
#3. Clean out Stubborn Stains and Mold
Stubborn stains, mildew, and mold growth are likely to occur if you store your cooler somewhere for an extended timeframe where moisture levels are high. There’s no way you would ever want to go through this, but don’t worry.
Just follow the steps below.
Items You’ll Need
- Sponge or an old towel
- Dishwashing soap
- Baking soda
- An old toothbrush
- Color-safe diluted bleach
In a large bucket, soak the cooler in a mixture of warm water and liquid dishwashing soap. Remove all the stuck-on food and grime with your sponge or an old towel.
Next, clean off the accumulated gunk from the fitting and gasket on the lid using the toothbrush. Don’t dry the ice chest once you have rinsed it.
Now take a fresh pack of baking soda and make a thick paste by mixing it with water. You should then use the towel to work this paste onto the entire chest before giving it a thorough scrub. Do not rinse right away after scrubbing; let the baking soda sit for at least half an hour before doing so.
If, however, you have left your cooler unwashed for a week after storing fish, meat, or vegetables, tiny particles of mold and mildew may remain within the cooler, even after the baking soda wash.
Over time, these particles may lead to more stubborn mold growth even after storing your cooler in a cleaned state. That’s why we suggest using Chlorine bleach for the complete removal of mold and the lingering odor.
However, you must remember to use diluted bleach instead of the robust and industry-grade version since the latter can weaken your product’s build properties.
Mix half a cup of color-safe diluted bleach into a gallon of water. Put the cooler into the mixture, and then, using the towel, wipe down its entire body.
After that, rinse with plain water until the bleach odor goes away. Then towel dry and let the cooler sit under the sun with its lid and drain open.
It’s all done! Your cooler is now odor-free and perfectly disinfected.
#4. Store Your Cooler or Ice Chest after Cleaning
Coolers and ice chests that don’t get used often must be clean and completely dried before storing them.
You can store it by stuffing a few scrunched-up newspaper sheets into it before closing it up. To ensure moisture and humidity can never have the chance to condense and settle in, you can throw a few desiccant packs too.
It’s also a good idea to place a mesh bag of coffee beans in the cooler to make it smell fresh when you open it again.
A Few More Tips to Keep Your Cooler Clean and Deodorized

#1. Get Started Quickly
The number one tip you should follow is to clean the cooler immediately after using it.
Waiting too long will make cleaning the cooler more challenging since it allows stains, debris, and odor to settle everywhere inside the cooler, no matter whether it is hard-shell bear-proof, collapsible, or backpack-style.
It might be exhausting to remove all food and beverages from a cooler after a long trip, but you should do so, nonetheless.
Once the meats or other leftovers leak into the water, the liquid condenses as the chest warms up, resulting in a bigger mess to clean, so get it all out as soon as possible.
You may not have to go through the above thorough cleaning method right away, but giving it a general wash after each use can help minimize the presence of settled stains.
#2. Prepare Beforehand
You can eliminate odors in the best way possible by preventing nasty odors before they are allowed to permeate your cooler’s plastic lining. Even if you’re carrying airtight packed foods, they can still leak smell when coming open.
The easiest way to prevent this is to line your cooler using a large, unscented plastic bag before putting anything else into it.
You’ll also want to put your goods in a zipper bag before putting them inside your cooler; if any leakage occurs, the bag will contain it instead of the cooler’s bottom.
#3. Remove Caked Stains Using Vinegar
If your cooler bottom has worn-down caked-up stains, try filling it with cold water and adding a 32oz bottle of white vinegar, and leave it for an overnight or two before proceeding to the thorough cleaning process.
This way, the cleaning will be a lot quicker and much less hassle.
#4. Use Lemons to Keep Odor at Bay
The antibacterial properties of lemons make them an excellent remedy for removing odors left behind by food. Besides curbing the smelly stuff, the citric acid in lemons also works a bit as a disinfectant.
Scrub the inside of your cooler after every use with a lemon slice. Then let sit outside in the sun for a bit before rinsing off. The sun’s UV rays and the lemon solution combined with the heat should help eliminate those odors instantly.
Must Read: Grizzly Vs. Yeti Coolers
Final Thoughts
Each type of cooler should be considered an investment that must be protected. So be sure to keep your cooler perfectly clean so that you can continue to use it to store ice and keep food cold on the go. Keeping it clean will also ensure that your contents stay clean and healthy.
With this in mind, follow the tips we shared on how to clean your ice chests & coolers well, so they last longer and are ready to go again when the time comes.