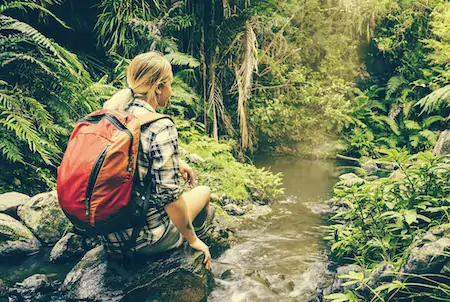
Trails are meant to facilitate humans and if you are someone that loves to hike or walk around just to feel the essence of nature. But have you ever wondered how those are made?
Just like any of us, you might feel the same that they are formed because of foot traffic on it. Well, at some point you are right but this takes quite a long time.
There is an actual process where you can make a trail in the woods on your own. So, if you want to make one, you need to understand and be prepared for it.
Making trails can benefit a lot of people (not just you). You can either join a volunteer group in your area or find the perfect tools and get things done.
For efficient results, you need to have basic knowledge of the process and to help you out, we have crafted this post for you where we will share the process of making a trail in the woods.
Preparation of Making Trails in the Woods
You may have heard the famous quote success occurs when opportunity meets preparation.
In simple words, if you want to be successful (regardless of what you are up to), you have to be fully prepared for every challenge you may face in the journey.
By preparation, we mean you need to equip yourself with the right tools that you will need when making a trail.
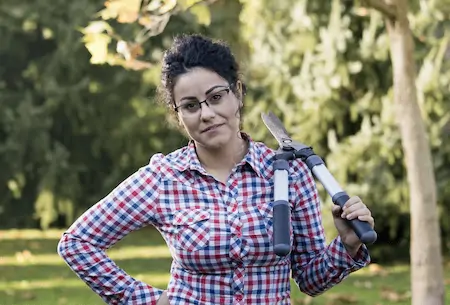
Here are some tools that you should take with you:
- Hand saw
- Machete
- Loppers
- Pulaski
These are some tools that you will easily find in the hardware store offline or just search online, you will see an array of options available.
For instance, if you want to look for a machete you can search the best machete in the search and choose one that matches your needs.
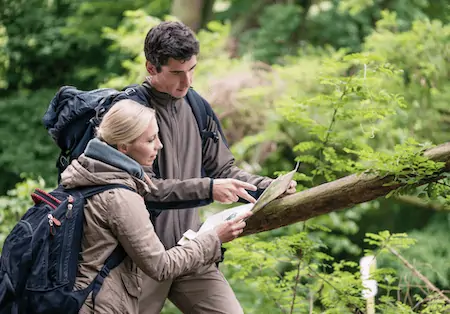
Planning and Evaluation
After being prepared, you need to step back and look for the possibilities. Plan the trail and assess. To get ideas, you can lay out flags on the possible routes.
Simply, walk and see what feels right. Avoid routes where there are large trees waiting for you. Look for a route you see where there are only small trees and bushes that can be removed easily.
Also, do not create extra work for you. Do not cut trees or remove bushes as you go by.
Walk and Start Clear Possible Hindrances
Clear Bushes
After planning and deciding where the trial will be, it is time for some actions to be done. The first thing you can start with is to clear the small bush with a machete.
Continue the work and Loop away until the trail is clear for about three feet across. During the process of cutting bushes, pile those up and pull them well of the future trail.
This needs to be done because as the bushes are cut and left on the sides, they after some time turns brown removing the aesthetics and ruining the feel of a trail.
Cut Down Trees
After clearing some bushes, it is time to grab your saw and cut down trees that comes in the route. Do not get overwhelmed and cut every tree you see. This isn’t a good practice. Leave as much as you can.
Also, when cutting trees ensure your safety and wear proper PPE like helmets as trees fall and it can cause harm to you if you are not careful. Even a small tree may hurt you if it hits you.
After cutting a tree, you’ll have to remove the stump. For this purpose, you can use a pulaski, dig around the stump and chop the roots until they can be pulled out.
This process may become a daunting task. After that, use the dirt and fill the hole.
Roots
During trail maintenance, most people overlook the importance of removing the roots. After you have made a perfect trail as you assume and people start walking on it, pine needles and leaves present will get packed down ultimately exposing the roots.
Removing roots is easy, just chop on each side. This way the tread of a trail will improve immensely.
Other Factors to Consider
Water Flow
Often trails diminish when rain occurs because of improper evaluation and assessment of where the water can or should go when it rains. Water flows from a high point to a low point and stores at low spots and in long downhill sections.
Water no matter what reason when it runs down the trail, causes ruts. To properly maintain your trail from water-related damages, dig small ditches in the trail as a path for the water and lead water off the tread.
Final Touches
After you are done with cutting and clearing the way of the trail, it is time to test it. For the testing, you need to walk down the trail and see if there are any sort of issues that can cause discomfort to any individual, especially with bad knees passing by it.
For instance, you may see the tread is slopping way too far downhill. To resolve this, you first need to refer to a high side, then pull out dirt, down to that low area.
If you are working with less dense dirt, the best you can do is to pack it down in layers. Spread some dirt then pack it down.
Repeat the process. This needs to be done because it is not possible to pack down a foot of dirt at once.
Tap On Your Back!

It is time to sit back and appreciate yourself overdoing something great not just for yourself but you did something many people can enjoy.
In case after reading the post, you may not end up making trails and it is fine, now at least you have an idea about how trails are made and value people and groups that work hard to build and maintain trails.
Building a trail can be a memory for a lifetime. Advice from our side is to get someone to help you out in the process for easy and better results.
We hope this article helped you in understanding how to make a trail in the woods. Good luck!