Going on a hike is a great way to enjoy spending time in nature. There are many picturesque landscapes that you will encounter along the way, from lookouts that offer sweeping views to trees that have been growing for decades.
When you encounter these jaw-dropping views, it’s a good idea to stop and take some pictures, so you can preserve these memories for a lifetime.
Here are some of the tips you can use to capture natural beauty on your hikes.
8 Ways To Take Epic Shots Of Hiking
#1. Use Contrasting Colors
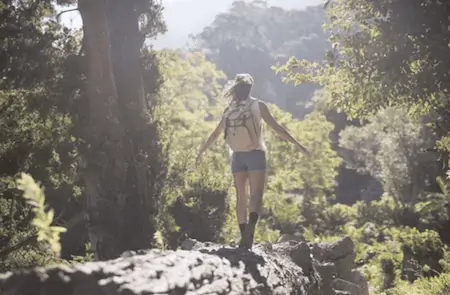
If you are planning on photographing a person, you need to make sure that they will stand out against the background colors.
A good way of doing this is by adjusting the type of clothing they are using. If you are photographing in a forest, you don’t want the subject to be wearing green.
They will blend in with the background. Because of this, you want to pick some contrasting colors, allowing them to draw the eye.
#2. Keep The Camera Close
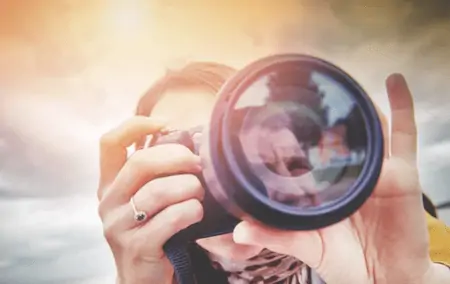
You never know when you might be presented with a unique photo opportunity. For example, you might have an animal run across the track in front of you.
At these moments, you don’t want to be digging in your bag for your camera, risking scaring the creature off.
There are a few ways that you can keep your camera close as you are hiking. The most common option is to use a lanyard to hang it around your neck.
If you are doing this, you will need to use a cover, to make sure that the camera doesn’t get damaged during the walk. When on the water, you should keep it in a waterproof bag.
#3. Bring A Tripod On Solo Hikes
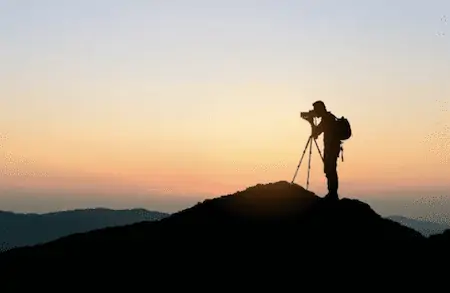
If you are hiking with a group, you can pass the camera to someone else and get them to capture the images, the way you want them to be seen.
But, if you are hiking by yourself, this won’t be possible. To solve this problem, you can bring along a tripod.
Then, all you need to do is use the timer to get yourself into the right position. It’s usually best to use a ten-second timer to give yourself plenty of time.
#4. Tell The Story
Going on a hike is about more than just getting to the peak. It’s about the journey. This is doubly true when embarking on a longer trek.
Because of this, you should be taking plenty of pictures along the way. For example, if you are struggling up a steep section, take pictures of the incline and the members of the group as they make their way along the journey.
These action shots can help you highlight the emotions associated with the trek, so the audience knows the euphoria you experienced when you finally reached the summit.
#5. Choose The Right Gear
When you are hiking, you don’t want to be carrying every lens you own. You’ll weigh down your pack and have a miserable experience.
Instead, pick one or two lenses. Make sure that they each perform a different function.
For example, you might want to get a telephoto lens for shooting over long distances and a wide-angle lens to capture the landscape.
#6. Use The Golden Hour
There is a reason why photographers love to get out and about early in the morning. This allows them to take advantage of the golden hour.
This is the time when the light will be ideal for taking photographs. It will give you longer shadows, so you can have more creative effects.
This will take place an hour before sunrise and sunset. These times will vary slightly, depending on the trails that you plan on hiking, so it’s important to do some research to help you plan out the hike effectively.
This post gives you more information on what the golden hour is and how you can use it to your advantage.
#7. Look For The Unique
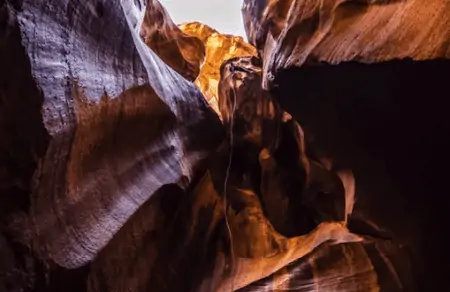
Shorter hikes are a good place to start taking pictures and honing your skills. But they will also attract the most visitors, so you will have a hard time photographing something unique.
If you want to get more interesting pictures, you will need to be prepared to head off the beaten trail a little. Look for longer hikes.
If something stretches over multiple days, fewer people will be willing to take it on. Plus, you’ll be able to get some night photographs, which can completely change the way you see the landscape.
#8. Get A New Perspective
Sometimes, you need to get a new view of the area to bring the hike to life. A great way to do this is with a drone.
You’ll be able to capture the landscape from above. This can give you a good way of showing the scale of the landscape.
When done right, this can show the nature of the area, like the rugged rocks of the mountains or the peaceful serenity of a lake.
If you are planning to take this approach, there are a few things that you need to bear in mind. First, you’ll need to pick a relatively light drone, especially if you are going on a longer hike.
It’s also important to get something that comes with high image resolution, so you can get high-quality pictures.
If you want some advice on the characteristics to be looking for, have a look at this compendium of advanced drones.
Conclusion
A hike can be a great way of capturing the natural landscape. As we’ve seen, there are lots of tips you can use to get these epic shots.
But the most important thing to remember is to have fun. The more time you spend hiking, the more experience you will gain and the better your photographs will become.
So, grab a camera and head out onto the trails to see what epic shots you can get.